
How to build a lead magnet landing page
A lead magnet page offers one useful resource in exchange for a visitor's contact information. This guide builds the complete campaign in QuickPages: the opt-in page, its confirmation step, lead collection, publishing review, and the first performance check.
A single-page offer for a practical PDF guide. Visitors submit their name and email, see a confirmation, and appear in the QuickPages lead inbox. You can later connect the same page to Zapier without rebuilding it.
1. Organize the campaign
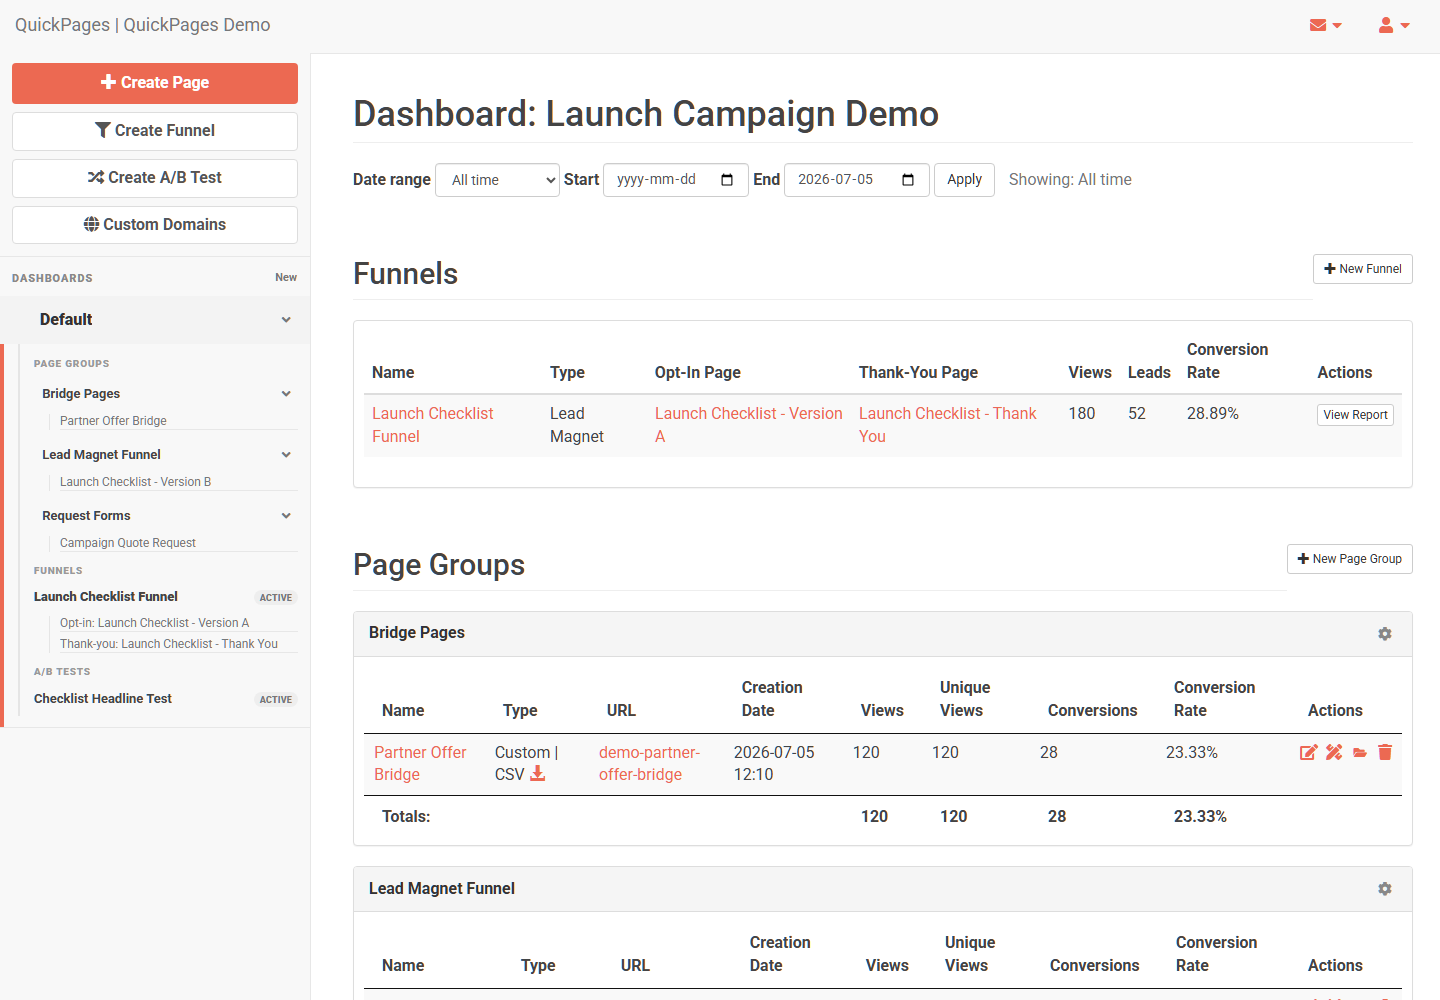
Open the dashboard where the campaign belongs. Dashboards can separate clients, businesses, or product lines. Page groups organize related work inside a dashboard, such as lead magnets, webinars, bridge pages, or service inquiries.
Choose Create Page for one opt-in page. Choose Create Funnel when you want QuickPages to create and report on an opt-in page and a hosted thank-you page together.
2. Choose the template by campaign goal
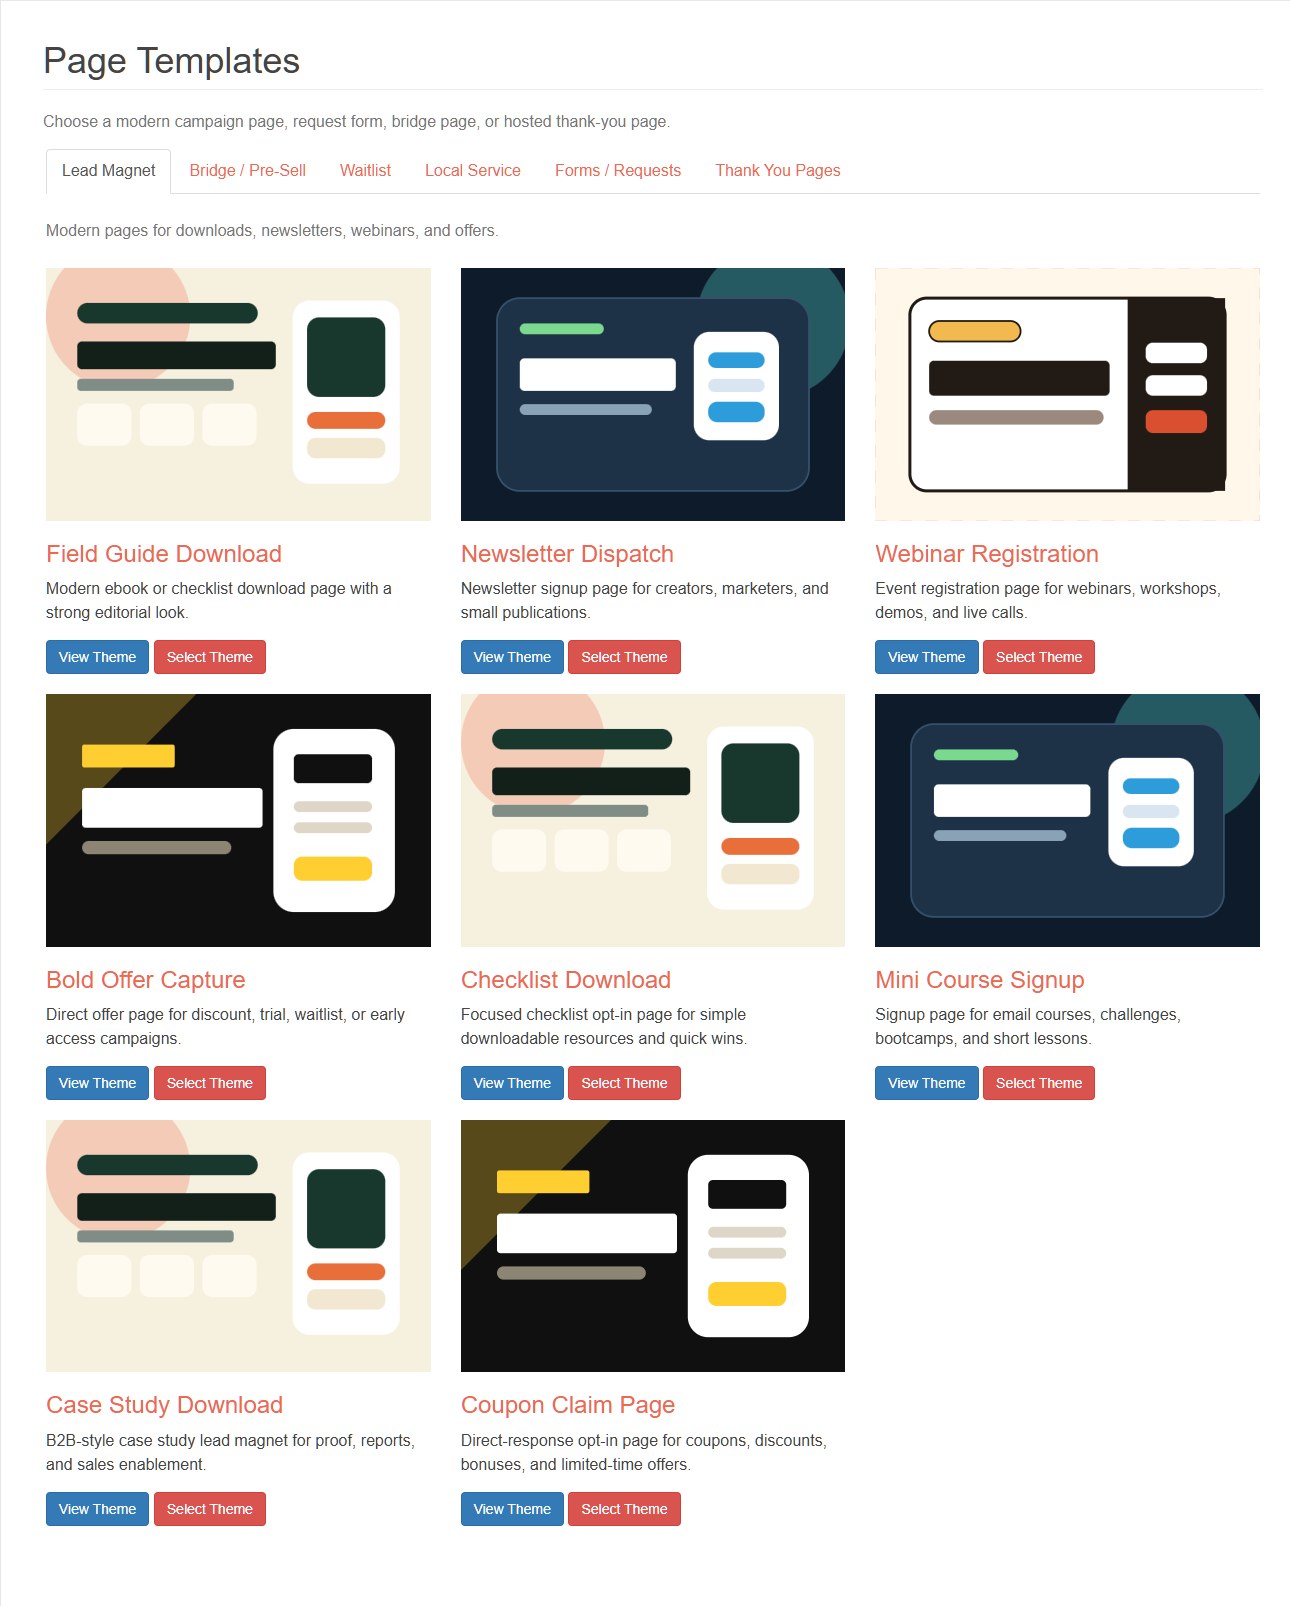
Open the Lead Magnet category and choose a layout that fits the resource. A checklist benefits from a compact, direct page. An ebook can support a more editorial presentation. A newsletter page should explain what subscribers will receive over time.
Use View Theme to inspect the complete page before selecting it. Classic templates are retained for existing campaigns, but new pages use the modern visual editor and responsive layouts.
3. Edit the page directly
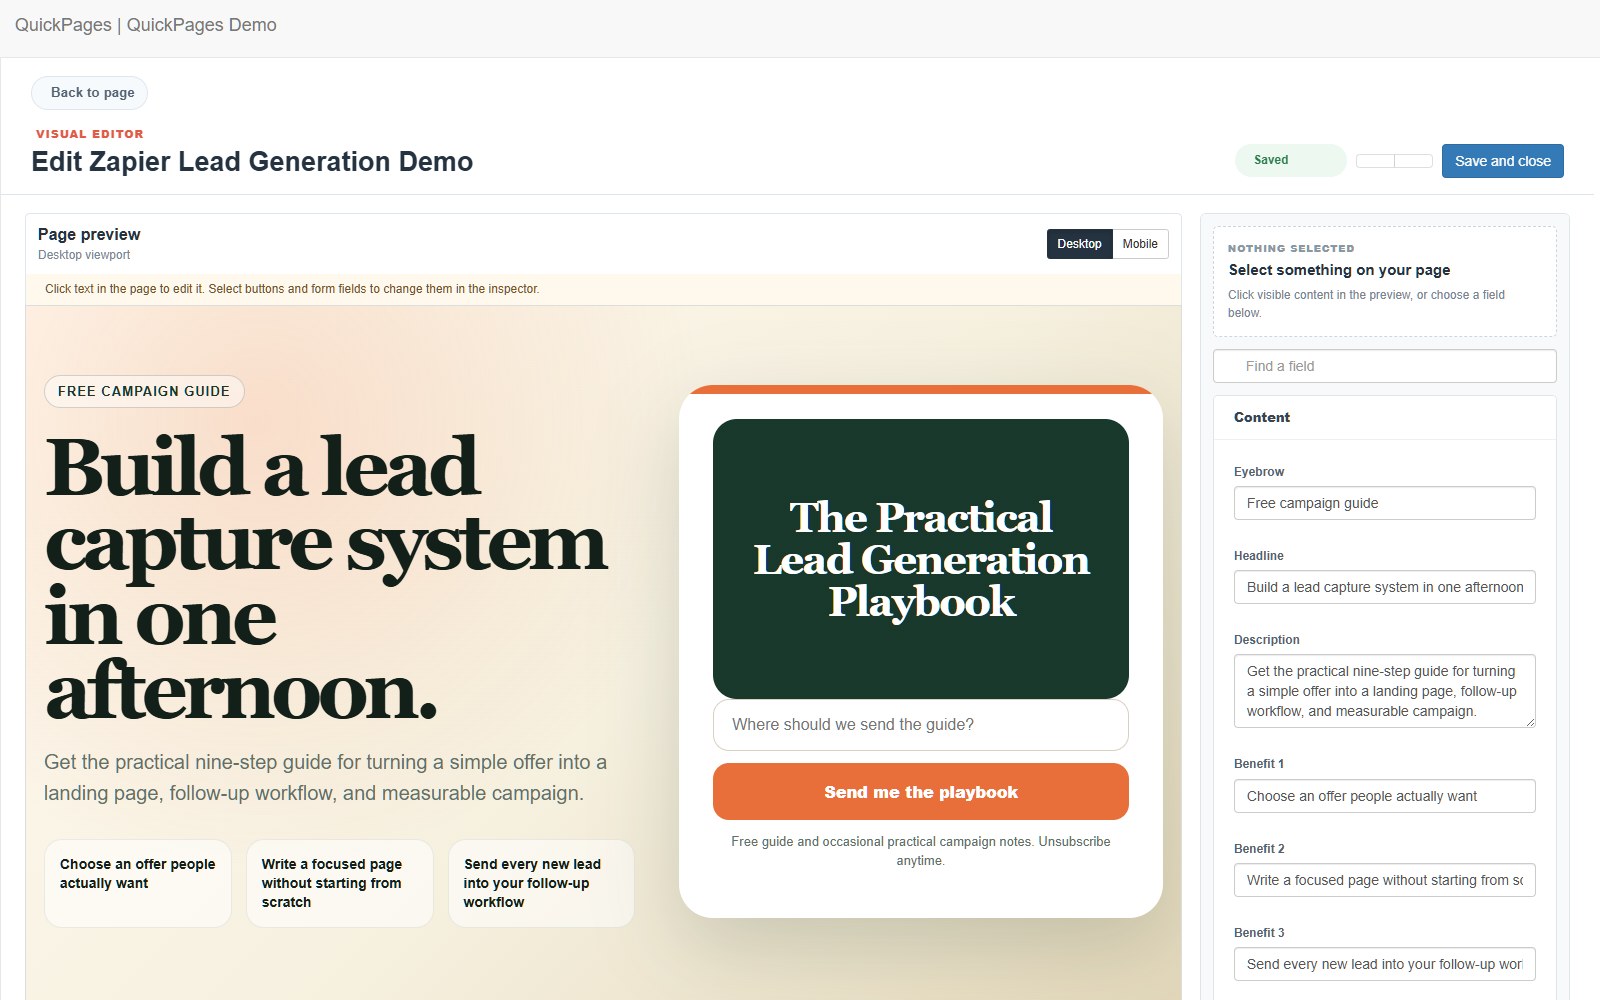
The visual editor lets you select visible text, buttons, and form fields inside the preview. Use the inspector to make precise changes, upload the guide cover, set the accent color, or edit an item that is difficult to select in the page.
Switch between Desktop and Mobile while editing. The mobile control uses a realistic narrow viewport, so it exposes wrapping, spacing, and form problems that a scaled desktop preview can hide.
4. Make one clear promise
The visitor should understand the offer before reading the whole page. Build the copy around one result:
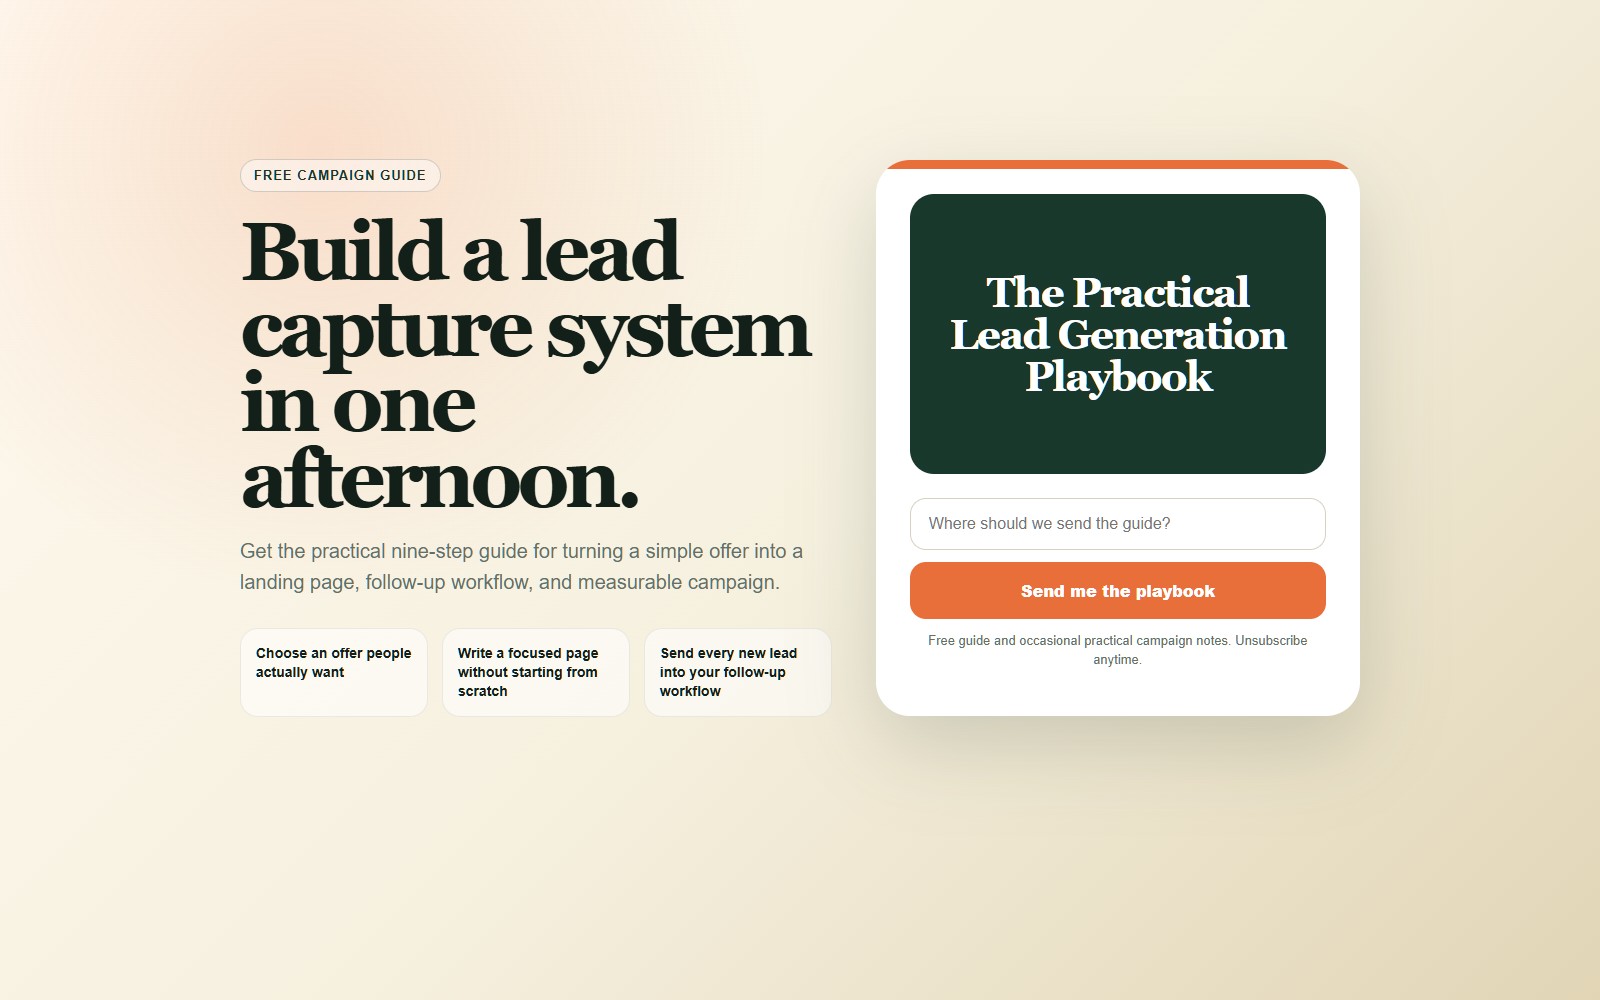
- Eyebrow: identify the format or audience, such as "Free 12-page playbook."
- Headline: state the useful outcome, not the act of subscribing.
- Description: explain who the resource helps and what problem it addresses.
- Benefits: name three concrete things the reader will learn or receive.
- Button: describe the result, such as "Send me the playbook."
Ask only for fields you plan to use. Name and email are usually sufficient for a downloadable guide. Use a request or application template when qualification requires a phone number, company, project details, or another longer answer.
| Generic template copy | Campaign-specific copy |
|---|---|
| Download our free guide | Plan your first five-email welcome sequence |
| Learn useful tips | Get subject-line examples, timing, and one CTA for each email |
| Submit | Send me the email plan |
The stronger version lets the visitor picture the resource before submitting. It also gives you a clear promise to repeat on the thank-you page and in the delivery email.
5. Choose what happens after signup
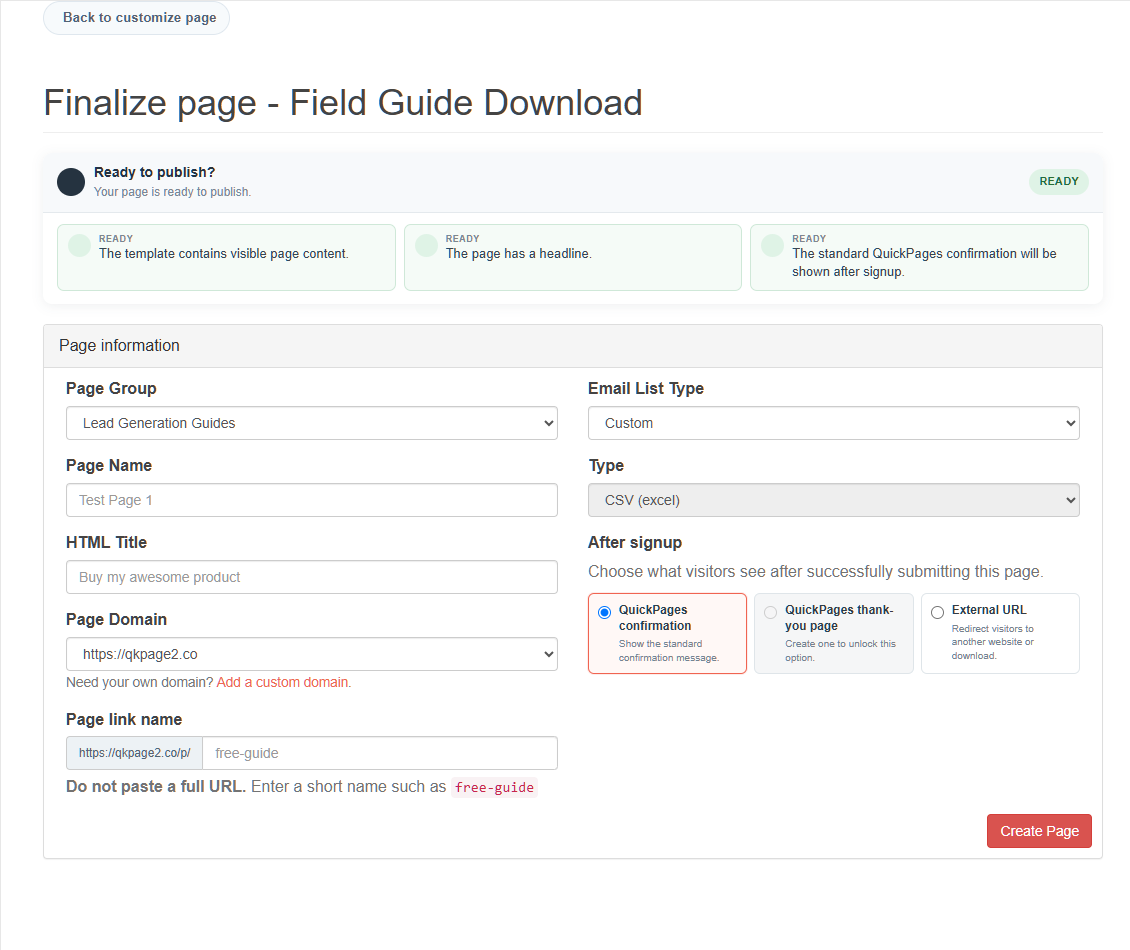
QuickPages provides three confirmation paths:
- QuickPages confirmation: show the standard confirmation for the fastest setup.
- QuickPages thank-you page: select a published thank-you page you created in QuickPages.
- External URL: redirect to a file, calendar, checkout, or page on another website.
For a larger campaign, create a funnel. Its opt-in and thank-you pages stay connected in the dashboard and share a funnel report, while each page still keeps its own views and conversions.
6. Decide where the lead is stored
Select Custom to save submissions in the QuickPages lead inbox. This is the simplest option for a new campaign: you can search and filter leads, inspect submitted fields and source information, and export a CSV when needed.
If the lead must immediately enter an automated workflow, use the premium conversion webhook. QuickPages saves the lead first, then sends the same conversion data to tools such as Zapier. See the complete QuickPages and Zapier setup guide.
7. Review the publishing checks
On the page settings screen, give the campaign a recognizable internal name and choose a short page link name such as creator-playbook. Do not paste a complete website address into that field.
The publishing checks flag blocking configuration errors and useful quality warnings, including missing content, placeholder copy, incomplete destinations, and suspicious links. Resolve real errors and review warnings in context; a warning does not prevent publishing.
8. Test the live experience
Open the published page in both desktop and mobile preview. Submit a test address and confirm that the expected confirmation or redirect appears. Then open Leads and verify the submission, page name, submitted fields, source, and timestamp.
9. Improve the campaign with evidence
Start with views, estimated visitors, submissions, visitor conversion rate, and lead quality for a clearly selected date range. If traffic is low, avoid drawing conclusions from a few visits. If traffic is healthy but signups are weak, test the offer, headline, form length, or proof before redesigning everything.
When two credible approaches are worth comparing, duplicate the page as an A/B test variant. QuickPages creates a safe copy, keeps the original page's historical statistics intact, and sends future test traffic through one shared test URL.
Continue with the two-step funnel guide when the resource needs a dedicated delivery page, or use the pre-launch checklist before sending paid traffic.
Launch checklist
- The page makes one specific promise to one audience.
- The form asks only for information you will use.
- Desktop and mobile previews both look intentional.
- The confirmation, hosted thank-you page, or external redirect works.
- A test submission appears in the lead inbox or connected automation.
- The live page has no placeholder copy or broken destinations.