
How to send QuickPages leads to Zapier with webhooks
A landing page is much more useful when a new signup can immediately enter the rest of your workflow. QuickPages conversion webhooks let you send each captured lead to Zapier, where you can add the contact to a CRM, update a spreadsheet, notify a sales channel, or start a follow-up sequence.
This guide builds the complete workflow: create the page, connect a Zapier Catch Hook, test the payload, publish the campaign, and map the lead into your next Zapier action.
- An active QuickPages Pro account. Conversion webhooks are a premium integration.
- A Zapier plan that includes Webhooks by Zapier.
- An app you want Zapier to update after a signup, such as Google Sheets, HubSpot, Gmail, Mailchimp, or Slack.
1. Create the Zapier Catch Hook first
Start in Zapier because Zapier must generate the unique URL that you will paste into QuickPages.
- Create a new Zap and choose Webhooks by Zapier as the trigger.
- Choose Catch Hook as the trigger event. QuickPages sends a normal JSON
POST, so Catch Hook is the appropriate option. - Leave Pick Off A Child Key empty unless you specifically want Zapier to discard the top-level event information.
- Continue to the Test tab and copy the unique webhook URL Zapier provides.
Zapier's current webhook instructions are available in its Catch Hook documentation. Treat the generated hook URL like a password. Anyone who has it can send requests to your Zap.
The trigger sample should expose event, email, fields, source, and submitted_at. If Zapier shows only an empty request or one flat text value, retest after confirming that the trigger is a Catch Hook and that QuickPages is sending JSON to the exact generated URL.
2. Choose a lead generation template
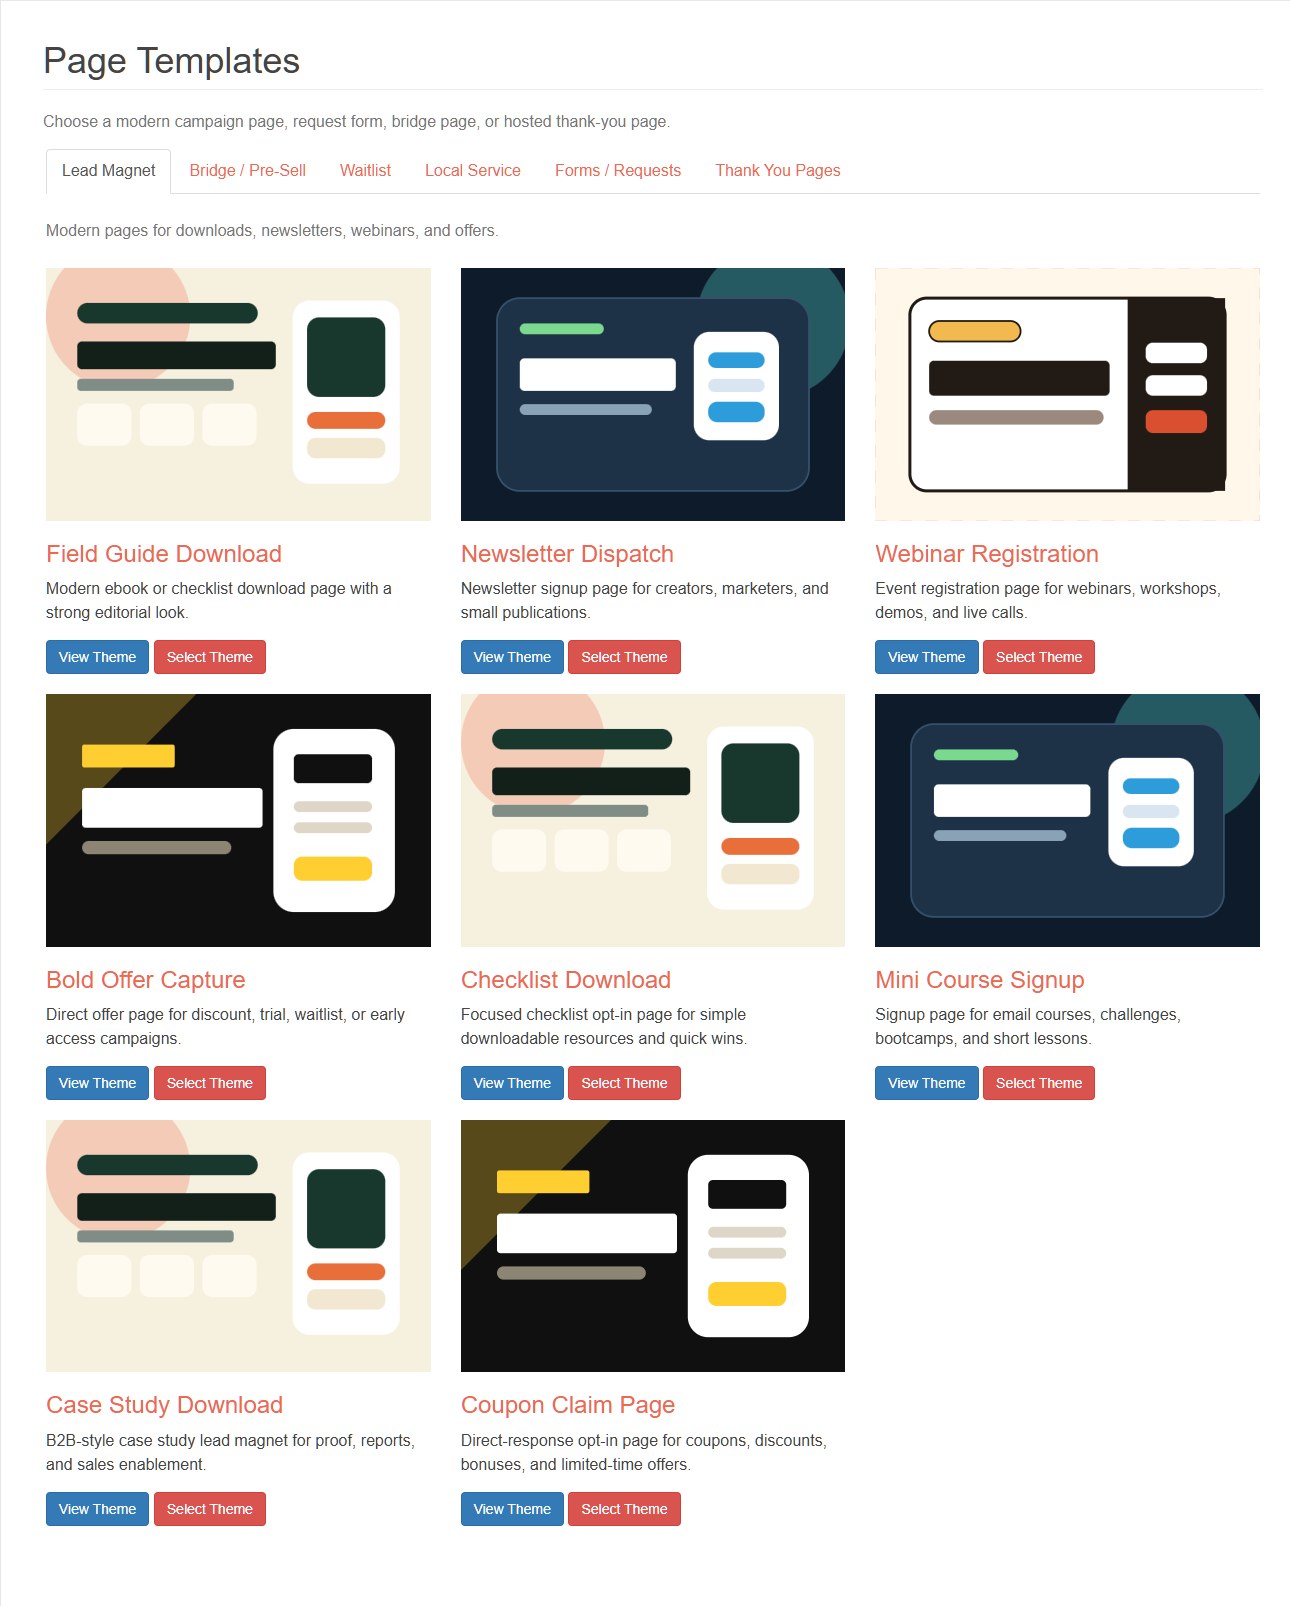
In QuickPages, open the dashboard and click Create Page. The Lead Magnet category contains purpose-built templates for guides, checklists, webinars, mini-courses, case studies, and direct-response offers.
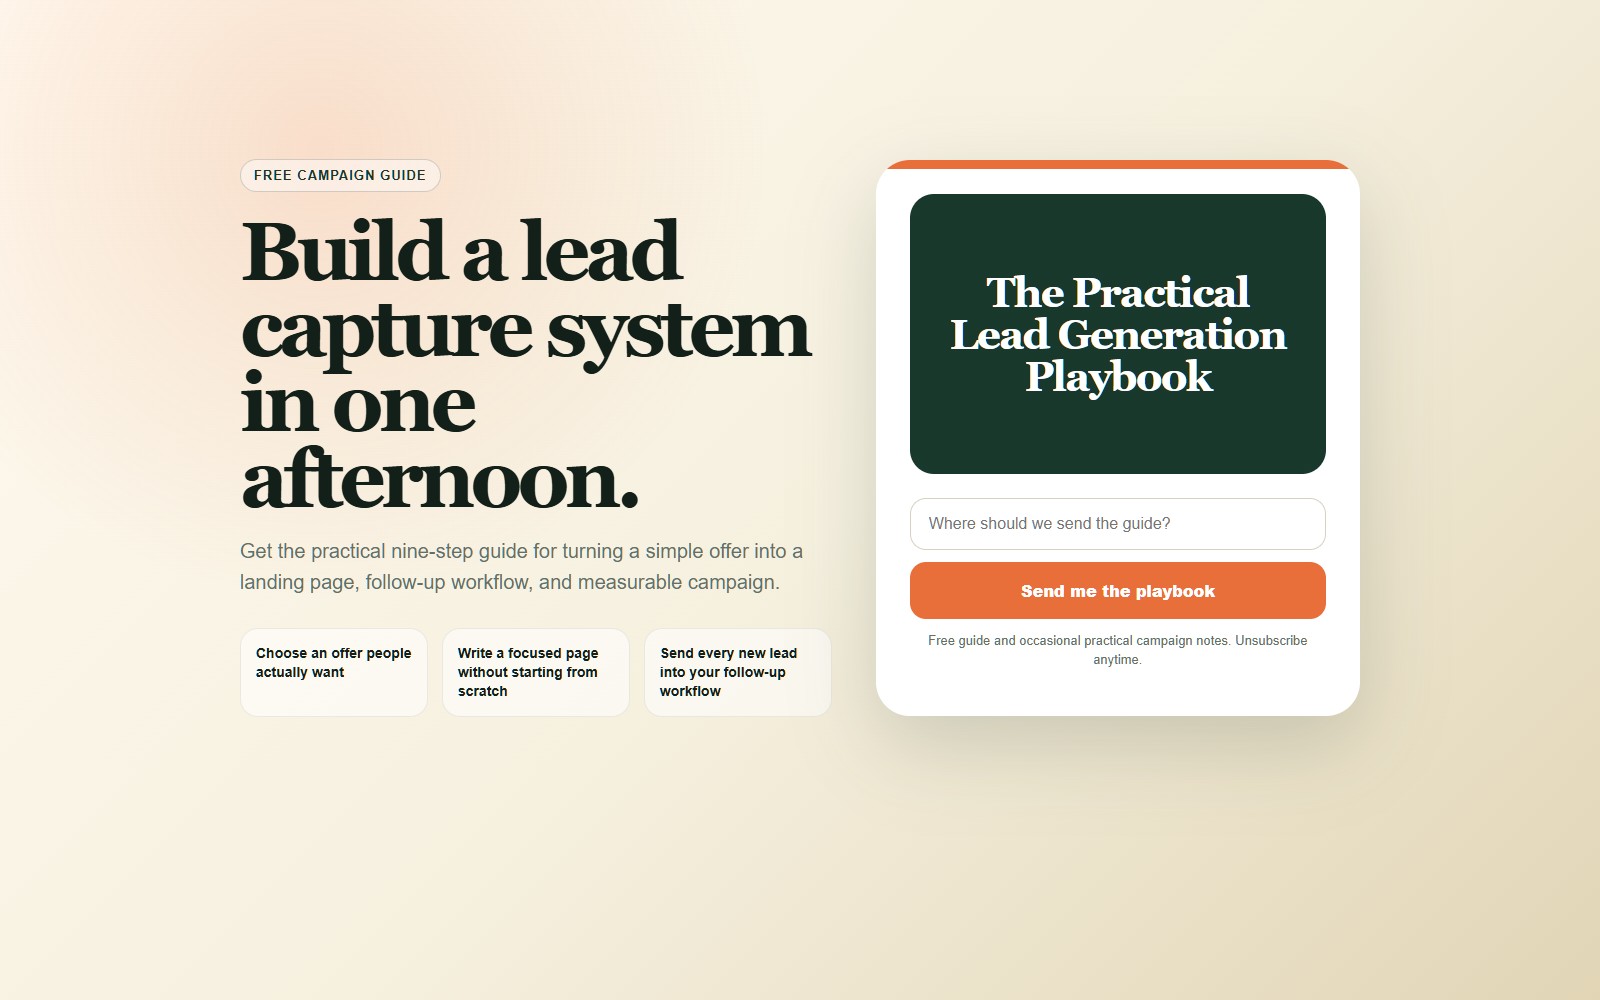
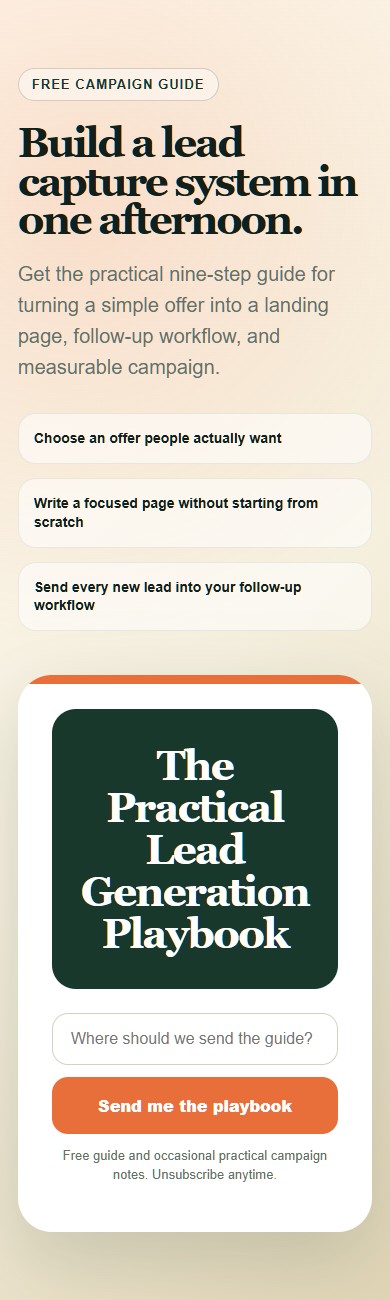
Choose the template that fits the offer rather than forcing every campaign into the same layout. This example uses Field Guide Download.
3. Customize the page around one promise
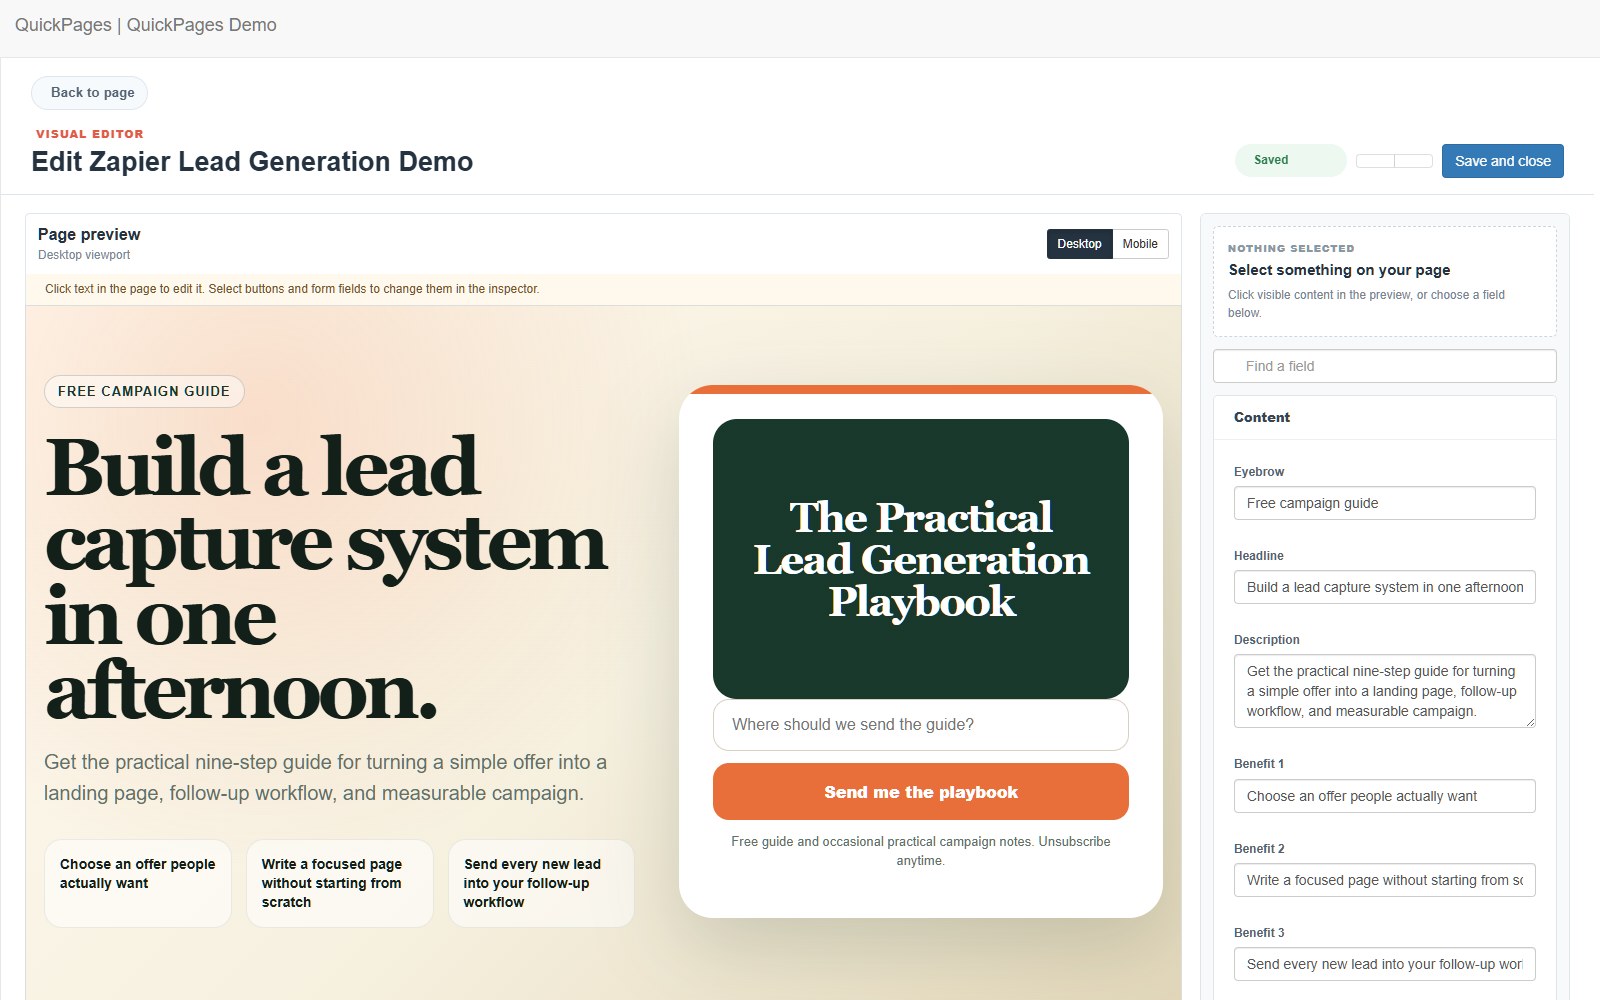
Use the visual editor to replace the template copy with a specific promise. Keep one clear action: explain what the visitor receives, why it is useful, and what information you need from them.
For a simple guide, an email field is usually enough. Asking for unnecessary information adds friction and gives Zapier more data to process without necessarily improving the campaign.
4. Connect the page to Zapier
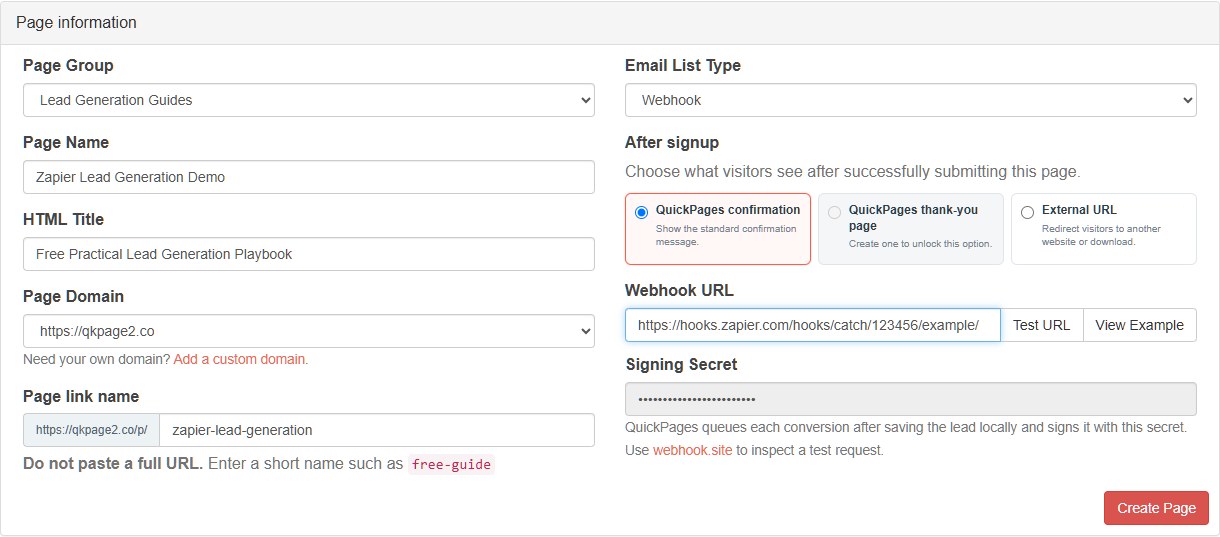
Continue to the page settings and set Where should leads go? to Webhook. Paste the Catch Hook URL copied from Zapier into the Webhook URL field.
QuickPages also generates a signing secret. Zapier does not require that secret for a normal Catch Hook. It is intended for custom servers that want to verify the HMAC signature on every request. Keep it private and do not paste it into a public page or support ticket.
5. Send a test request before publishing
Click Test URL in QuickPages. The test uses the same structure as a real conversion, but marks the request with "is_test": true and uses sample lead data.
Return to the Test tab in Zapier and click Test trigger. Zapier should find the request and expose its fields for later actions. If Zapier was already waiting for a sample, the request may appear immediately.
{
  "event": "conversion.created",
  "is_test": true,
  "delivery_id": "6d52df5b-7f13-4f8a-85ae-8651cc4f94da",
  "conversion_id": 0,
  "page_id": 0,
  "page_name": "Test QuickPages Page",
  "page_url": "https://example.com/p/test-quickpages-page",
  "email": "test@example.com",
  "fields": {
    "name": "Test Lead",
    "phone": "555-123-4567"
  },
  "source": {
    "label": "quickpages",
    "utm_source": "quickpages",
    "utm_medium": "webhook_test",
    "utm_campaign": "conversion_test",
    "utm_content": "",
    "utm_term": "",
    "referrer": "",
    "landing_url": "https://example.com/p/test-quickpages-page?utm_source=quickpages&utm_medium=webhook_test&utm_campaign=conversion_test"
  },
  "submitted_at": "2026-07-19T14:30:00-04:00"
}
The test request helps Zapier discover the field structure. A real submission sets is_test to false, includes the real page and conversion IDs, and sends the visitor's email and submitted form fields.
6. Map the lead into your Zapier action
Add the action you want Zapier to perform. The exact fields depend on the destination app, but a practical mapping usually looks like this:
| Destination field | QuickPages webhook field |
|---|---|
| Email address | email |
| Name | fields.name, when the page asks for a name |
| Campaign source | source.label or source.utm_source |
| Campaign name | source.utm_campaign |
| Landing URL | source.landing_url |
| Signup time | submitted_at |
| Additional responses | Values nested under fields |
For example, a Google Sheets action can create one row per lead. A CRM action can create or update a contact. A Slack action can notify a sales channel and include the page name so the team knows which campaign produced the lead.
7. Choose the post-signup experience and publish
The webhook controls where the lead data goes. The After signup setting controls what the visitor sees next. You can show the standard QuickPages confirmation, send the visitor to a QuickPages thank-you page, or redirect to an external download or website.
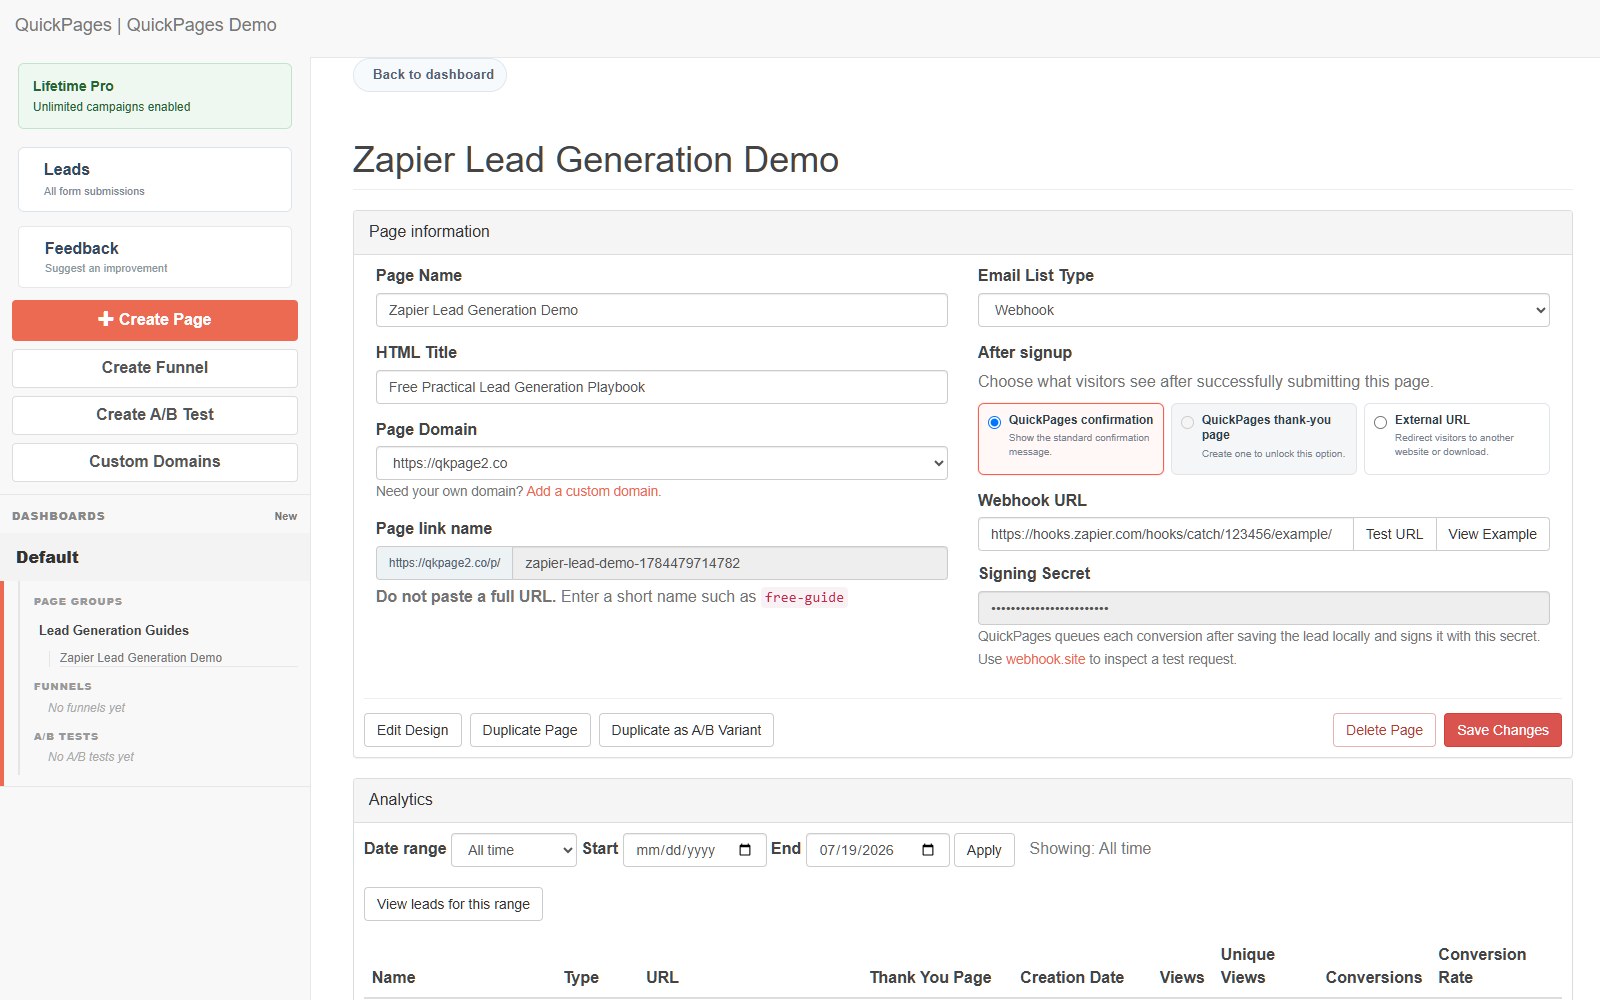
Set a short page link name, review the publishing checks, and create the page. After publishing, the page settings keep the webhook configuration and page analytics together.
8. Test the live page from a visitor's perspective
Open the published URL and submit a real test address you control. Confirm all three parts of the workflow:
- The visitor reaches the expected confirmation or thank-you destination.
- The lead appears in the QuickPages lead inbox.
- Zapier receives a live event and successfully completes the configured action.
Review the page on both desktop and mobile before sharing it. The automation can work perfectly while an unclear headline or broken mobile layout still hurts conversion.
Troubleshooting the connection
- Zapier cannot find a sample: return to QuickPages, click Test URL again, then immediately click Test trigger in Zapier.
- The QuickPages test fails: confirm that you copied the complete Catch Hook URL, including the final path and slash.
- Zapier returns 404: confirm that the Zap and its webhook trigger still exist and are enabled. Zapier's current behavior can return 404 for an inactive or deleted Catch Hook.
- The Zap works with test data but not live leads: submit the published page and confirm the lead appears in QuickPages. The webhook is triggered by a successful conversion, not by a page view.
- Fields are missing: submit a sample using every form field you plan to map, then retest the trigger so Zapier can discover those values.
A reliable launch checklist
- Create the Zapier Catch Hook before configuring QuickPages.
- Keep the Zapier hook URL and QuickPages signing secret private.
- Use Test URL and confirm Zapier can parse the sample.
- Map the email and relevant form fields into the destination action.
- Publish the Zap before sending campaign traffic.
- Submit the live page once and verify QuickPages, Zapier, and the destination app.
Next, use the UTM guide to map acquisition fields consistently, or the follow-up sequence guide to decide what the automation should send.
Build the page, then automate the follow-up
Start with one lead-generation page. Once it converts, connect the webhook so every new lead reaches the workflow where your team can act on it.
Create your QuickPages account