
How to build a bridge page before sending paid traffic
A bridge page sits between a traffic source and the final destination. It gives cold visitors enough context to understand the next click before they reach a sales page, partner offer, webinar, application, or booking flow.
The extra step is worthwhile only when it reduces confusion or improves qualification. A bridge page that merely repeats the destination adds friction.
It should clearly explain the relationship to the next destination. Do not present promotional content as an independent review or use unsupported earnings, health, scarcity, or testimonial claims.
1. Decide whether the campaign needs a bridge
Use one when the traffic source cannot explain the offer completely, the destination assumes prior knowledge, or you need to screen visitors before an expensive next step.
- Affiliate or partner offer: explain who the offer fits and why you are recommending it.
- Webinar: connect the ad angle to the session outcome before registration.
- Application: state the criteria before asking for a longer submission.
- Local service: explain the process before a quote or consultation request.
2. Match the message that brought the visitor
The headline should continue the promise from the ad, email, social post, or partner placement. A visitor who clicked a specific problem should not land on a generic company introduction.
A practical bridge page normally includes:
- A headline that matches the source message.
- A short explanation of the problem and proposed next step.
- Relevant proof, selection criteria, or a compact comparison.
- A transparent description of what happens after the click.
- One primary call to action with a valid destination.
Affiliate offer: disclose the relationship and explain who the destination fits. Webinar or booking: summarize the outcome and set expectations before the scheduling page. Product comparison: explain the decision criteria, then send the visitor to the appropriate offer.
3. Choose the appropriate QuickPages layout
Open Create Page and select the Bridge / Pre-Sell category. QuickPages includes layouts for affiliate disclosure, checklist-to-offer transitions, comparisons, and longer product stories. Preview the complete layout before selecting it.
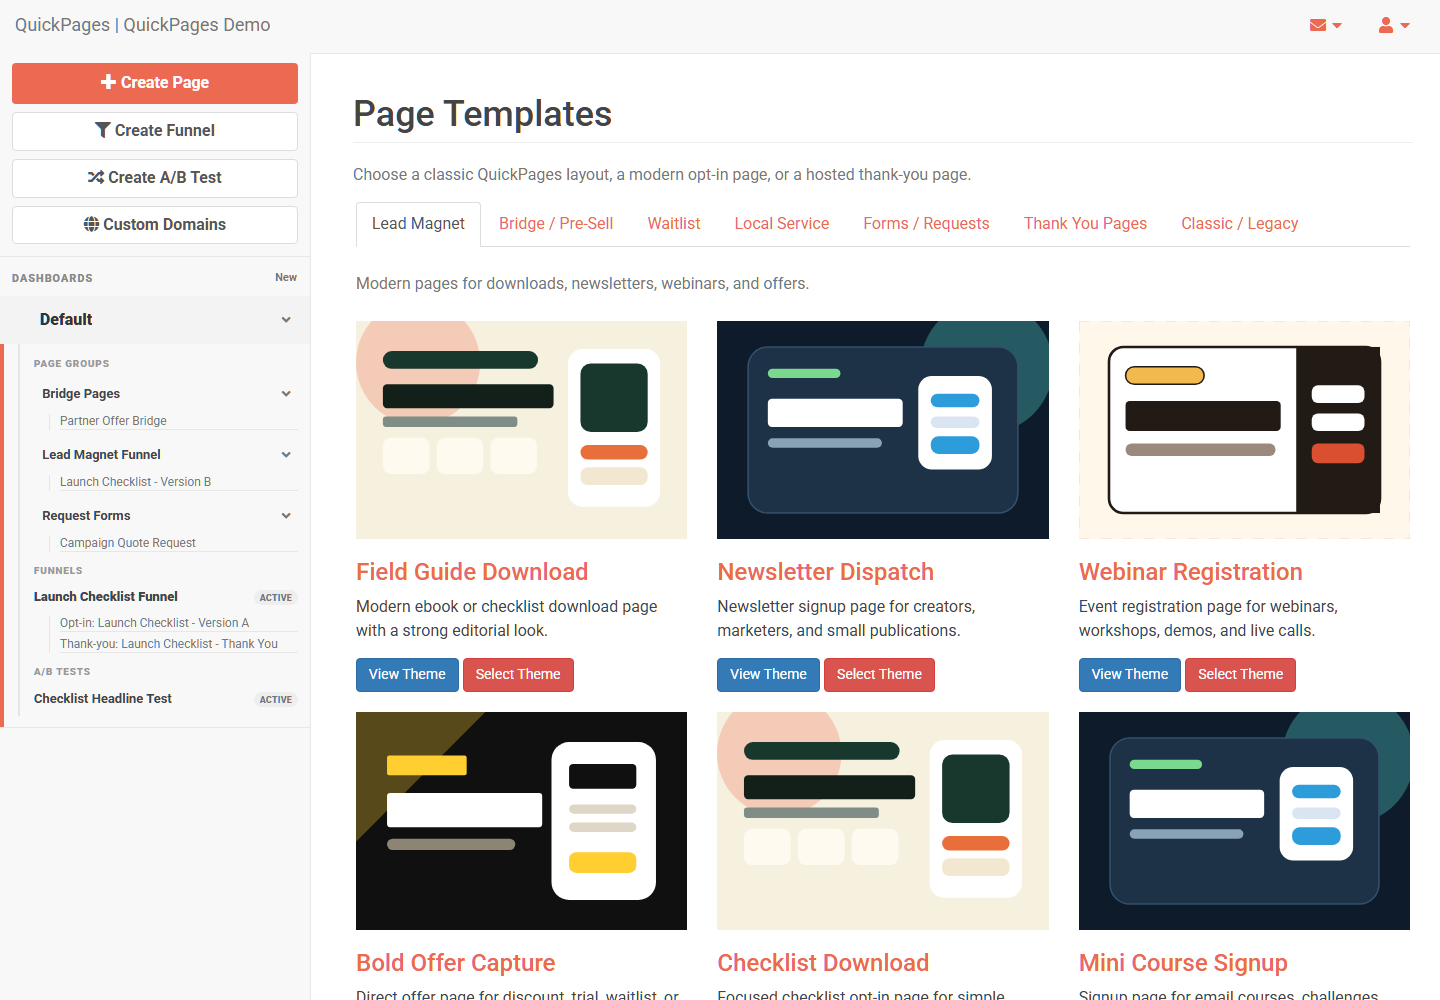
4. Edit the destination and proof carefully
Use the visual editor to update the headline, supporting copy, proof points, disclosure, and primary button. Verify every destination rather than leaving a placeholder URL from the template.
Use desktop and mobile preview while editing. Paid traffic is often heavily mobile, so a call to action that sits clearly on desktop may be buried by wrapping or excessive copy on a narrow screen.
5. Run the publishing checks
The page settings review can identify empty content, placeholder copy, missing destinations, and invalid call-to-action links. Treat destination problems as launch blockers even when a quality warning itself is optional.
Open the published page and click the primary action yourself. Confirm that it reaches the intended offer and that any affiliate or promotional relationship is visible before the visitor continues.
6. Track the right outcome
If the bridge page collects a form submission, QuickPages can record the conversion and store the lead. If its only action is an outbound button, the destination platform should measure the click-through and downstream sale or booking. Do not call a page successful based only on views.
When you need to collect a lead before the next step, build a funnel with an opt-in page and a hosted thank-you or bridge page. This keeps the campaign path and its reporting together.
7. Test one framing decision at a time
Duplicate the page as an A/B variant when two credible angles are worth comparing. Keep the destination constant and change one main idea:
- A headline that names the problem versus one that names the outcome.
- Short explanation versus a more detailed comparison.
- Case-study proof versus a practical checklist.
- Direct call to action versus qualification language.
Use one shared A/B test URL and wait for both variants to receive meaningful traffic before selecting a winner.
The paid-traffic checklist covers the complete technical launch path, while the UTM guide explains how to identify the converting visit.
Before buying traffic
- The headline matches the ad or placement.
- The page adds context instead of repeating the destination.
- Claims and disclosures are accurate and visible.
- The primary destination works on desktop and mobile.
- UTM parameters and downstream conversion tracking are ready.
- A small initial traffic test is planned before scaling.